PixiJSのサンプルを手っ取り早くelectronで動かしたい。
electronを使って、PixiJSのサンプルを動かそうとしたら、 import * as PIXI from という構文でエラーになってしまいました。なんとかしてES6対応にすれば動きそうなので、一番簡単そうだった、これ→「electron-forge」を試しています。
セットアップ
参考サイトにしたがって、こんな感じでコマンド打ってelectronのプロジェクトを生成します。
npm install -g electron-forge
electron-forge init my-new-project
cd my-new-project
次にこのコマンドを打てば、electronが立ち上がります。
electron-forge start
これで、import * as といった構文は勝手になんとかしてくれるelectron開発の準備ができました。
PixiJSのインストール
「pixijs」 というなんか凄そうなライブラリをインストール。
npm install pixi.js※ 私の環境だと、pythonが3系だったので、こんなエラーがでてしまいました。しょうがないので、2系にダウンして再ビルド
Error: Python executable "/Users/mzimac/anaconda/bin/python" is v3.6.2, which is notsupported by gyp.バニーを回す
pixijsの「サンプルコード」の一番最初にある「ウサギを回す」コードをちょっとだけ編集して動かしてみます。
src/app.js
サンプルコードをコピペして、キャンバスのサイズをいじって、バニーの表示位置とバニー画像のPATHを変えたものです。
import * as PIXI from 'pixi.js'
var app = new PIXI.Application(200, 200, {backgroundColor : 0x1099bb});
document.body.appendChild(app.view);
// create a new Sprite from an image path
var bunny = PIXI.Sprite.fromImage('assets/bunny.png')
// center the sprite's anchor point
bunny.anchor.set(0.5);
// move the sprite to the center of the screen
bunny.x = app.screen.width / 2;
bunny.y = app.screen.height / 2;
app.stage.addChild(bunny);
// Listen for animate update
app.ticker.add(function(delta) {
// just for fun, let's rotate mr rabbit a little
// delta is 1 if running at 100% performance
// creates frame-independent transformation
bunny.rotation += 0.1 * delta;
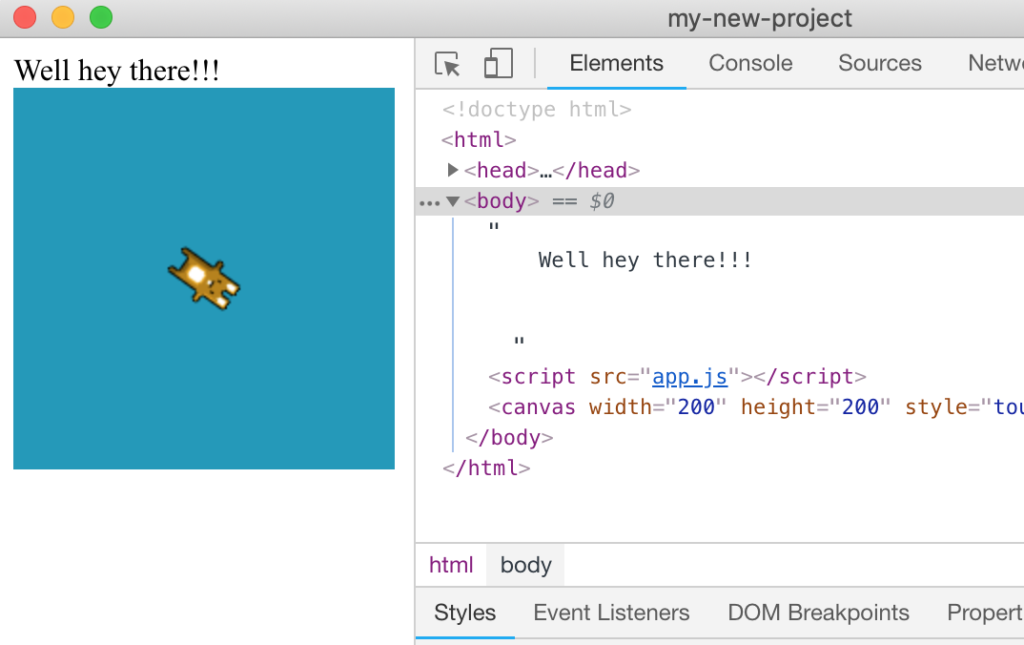
});src/index.html
bodyの一番下でapp.jsをscriptタグで読み込むようにしました。
<!DOCTYPE html>
<html>
<head>
<meta charset="utf-8">
<title></title>
</head>
<body>
Well hey there!!!
</body>
<script src="app.js"></script>
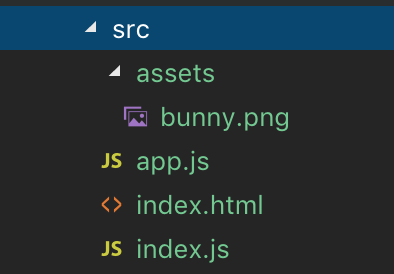
</html>assets
バニーの画像は、サンプルコードの置いてあるgithubから持ってきて、src/assetsフォルダを作ってそこに bunny.png を配置します。
動作確認
これで、またこのコマンド
electron-forge startを打つと、electronの中でバニーが回ります。